Tables & Floor Plan
Complete POS guide · Start a POS trial · Setup checklist
Tables & Floor Plan
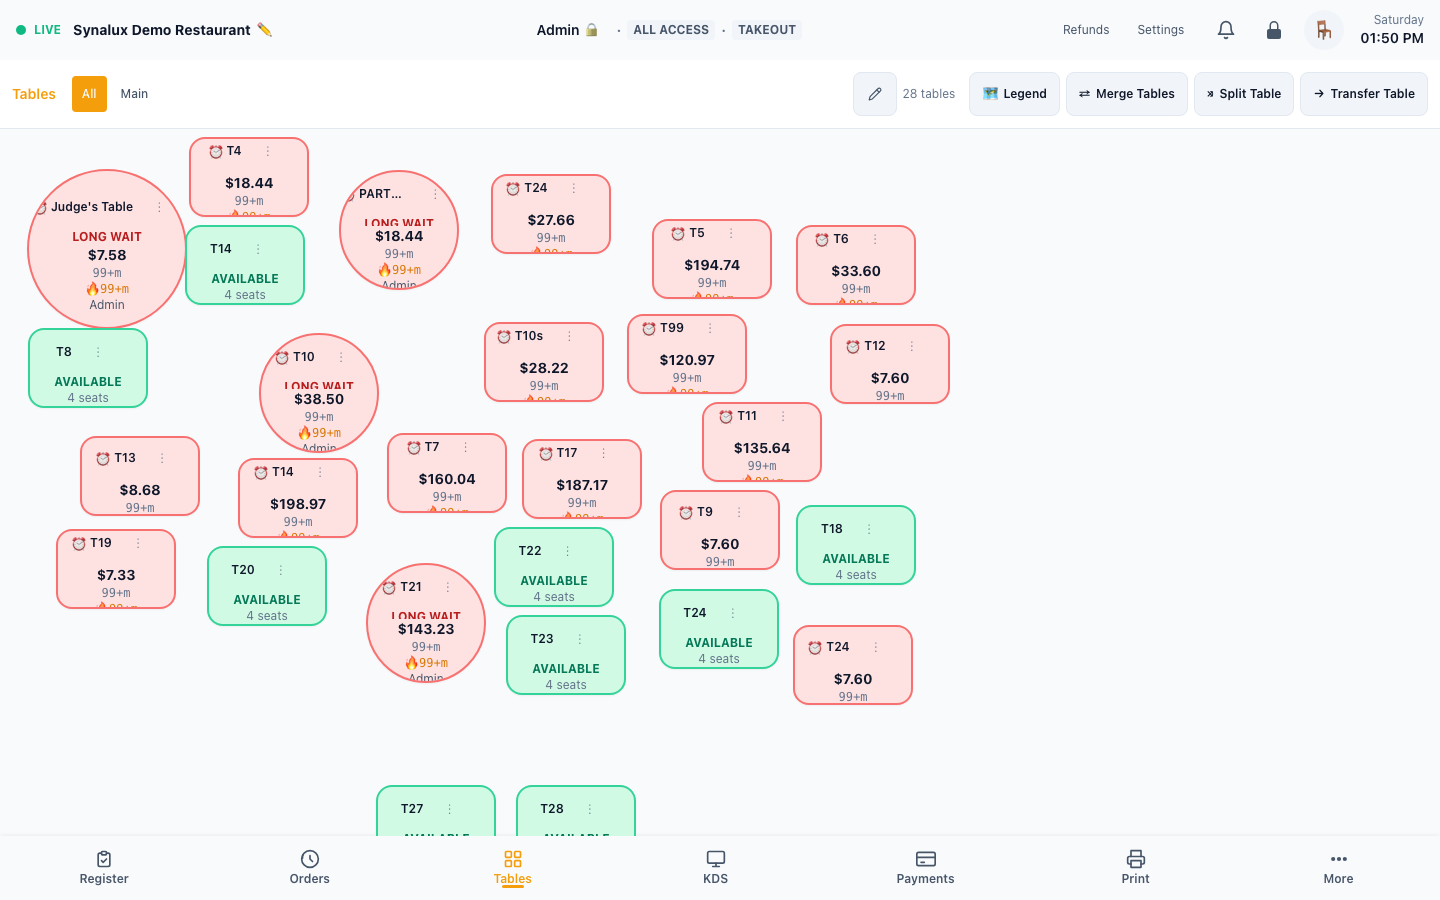
Visual floor plan with color-coded table status, multiple rooms, and resizable/rotatable tables. Table state syncs across every terminal in real time — no manual refresh.
Setup
- Settings > Floor Plan — add tables with name, section, capacity, shape, size (width/height), and rotation. Drag to position, resize, and rotate each table to match the real room
- Multiple rooms — group tables by section (Main, Patio, Bar) into separate rooms; a room switcher draws one room at a time in both the designer and the live floor view
- Change Table — move an order to a different table from the order panel. Pick the new table from the floor plan
- Move seats between orders — transfer individual seat groups from one table's order to another
- Merge, split-back, transfer, or reopen closed checks from the table detail panel. Merging checks, splitting seats into a new check, or moving seats between checks takes the check discounts off the checks involved; apply a discount again if it still applies. Line discounts and comps stay with their items. A check with a discount and a payment already started cannot be merged, split, or moved until the payment is canceled or voided
- Occupy-on-add — adding items to a table opens its check immediately, so the table shows occupied on every terminal in real time, before "Send to Kitchen." Toggle in Settings > Venue > Table Occupancy (on by default); turn it off to only occupy the table once the order is fired
- Live status — available / occupied / long-wait syncs across all terminals instantly, with no manual refresh
- Mark Clean — after a table is vacated, tap Mark Clean to flip it back to available (records a bussed timestamp so a fired order is never mistaken for a new one)
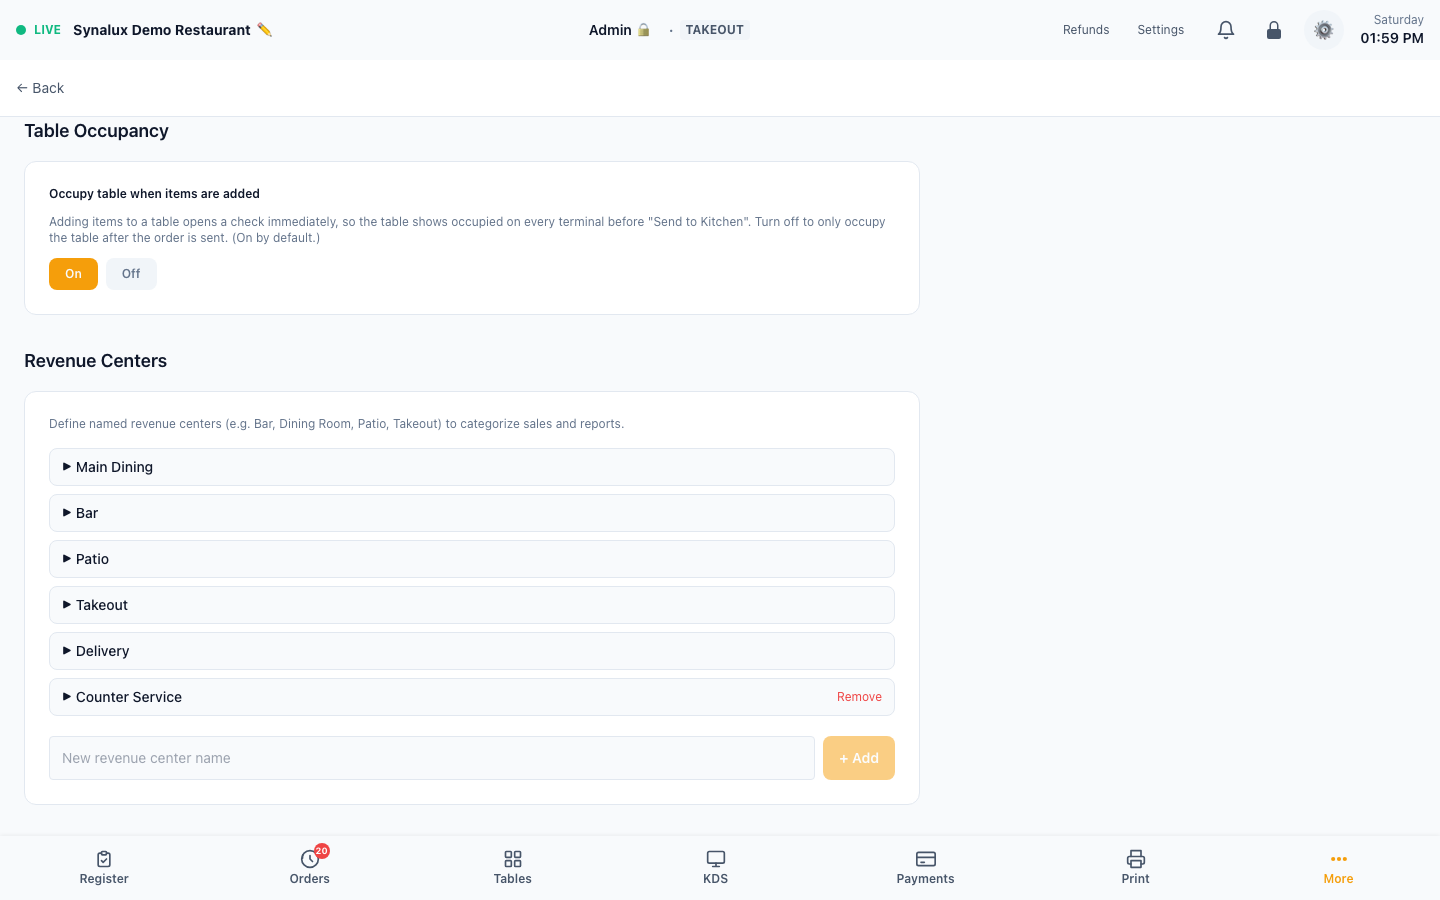
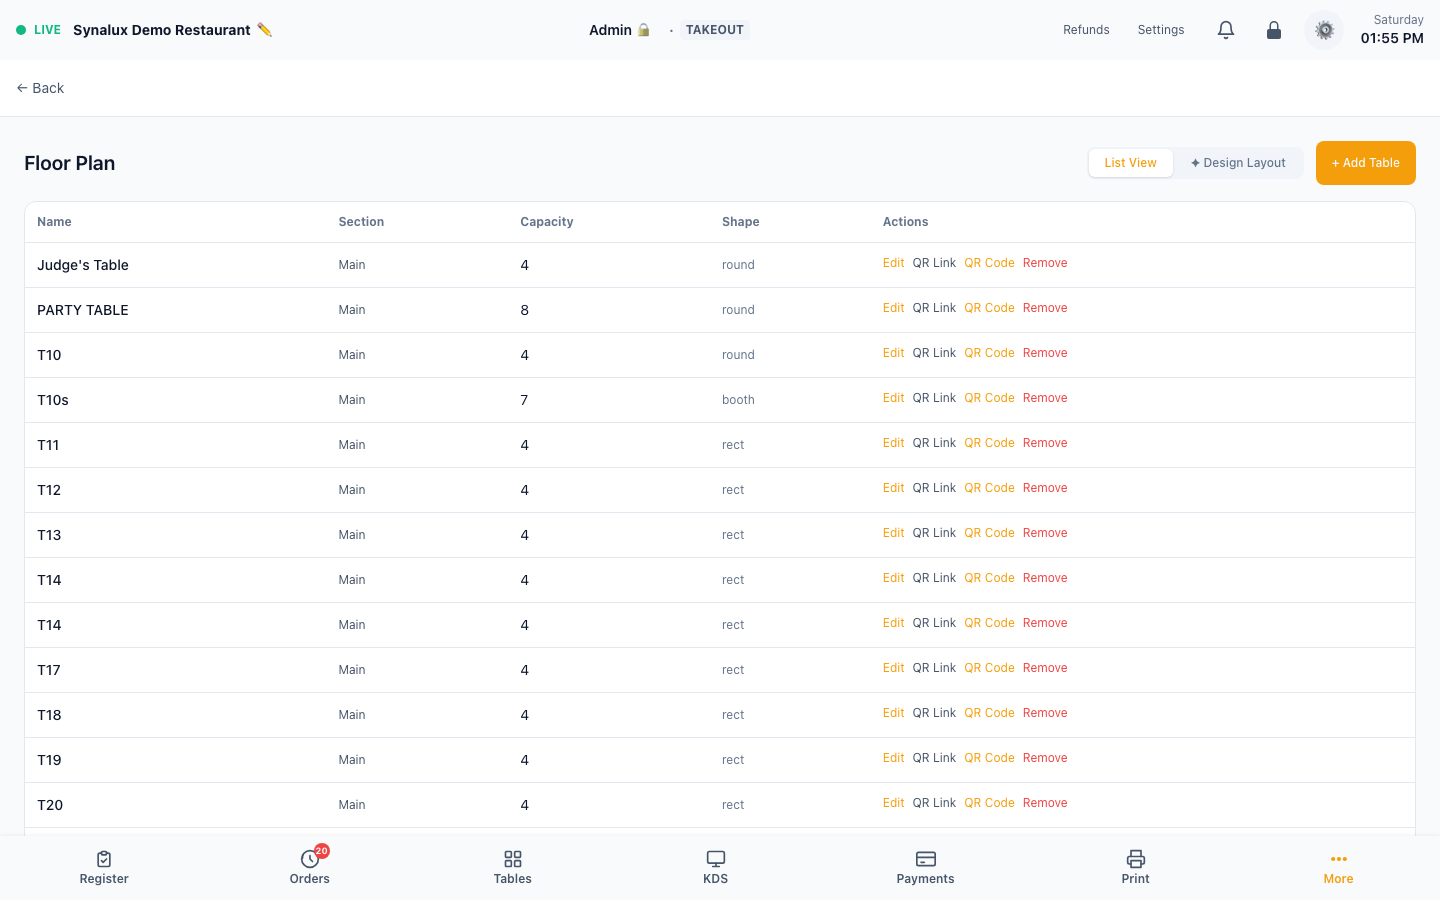
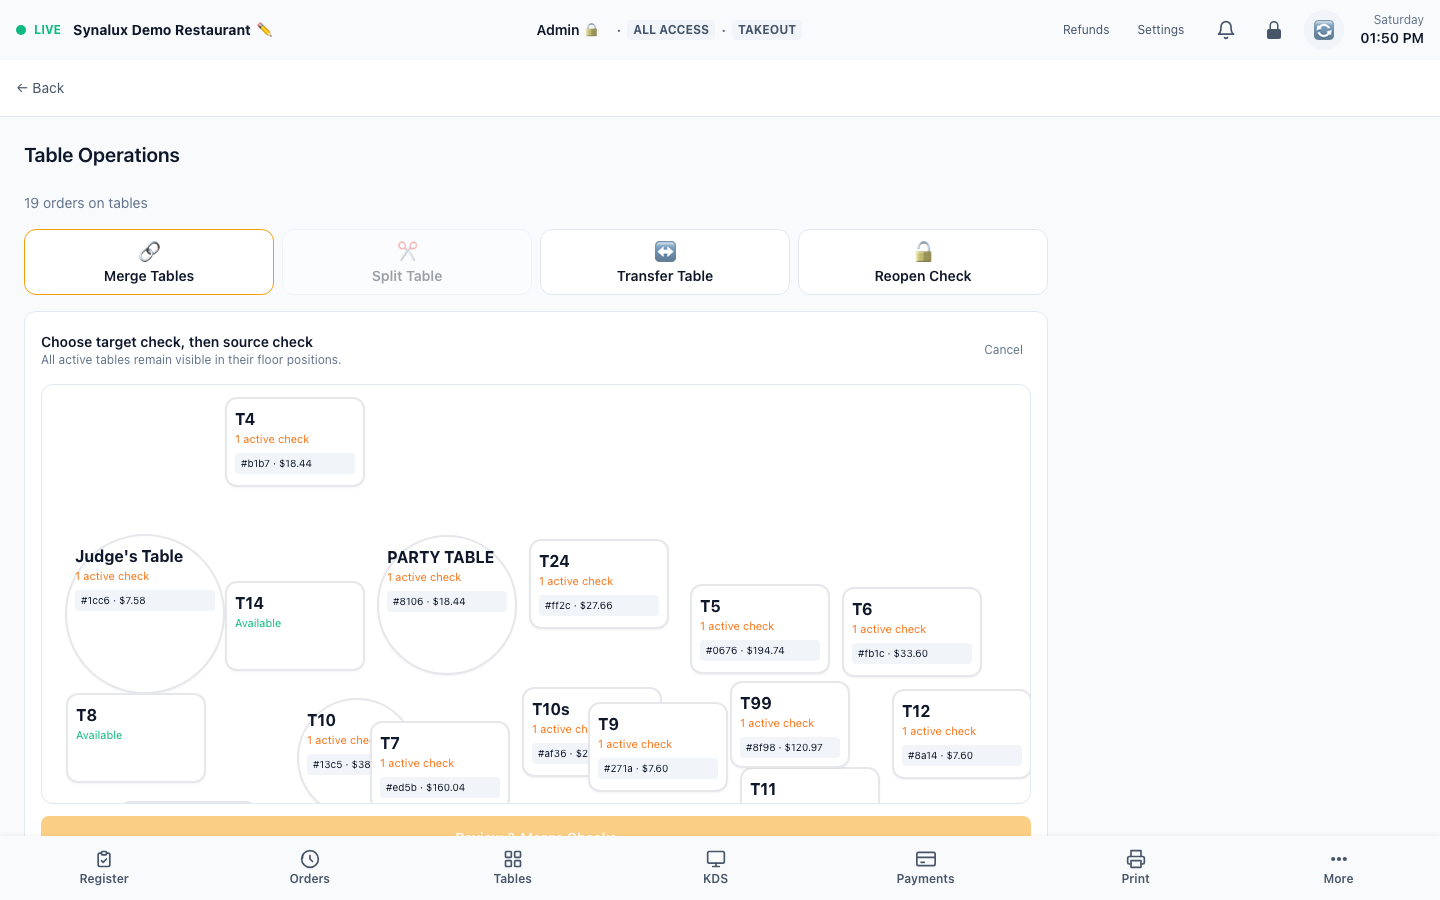
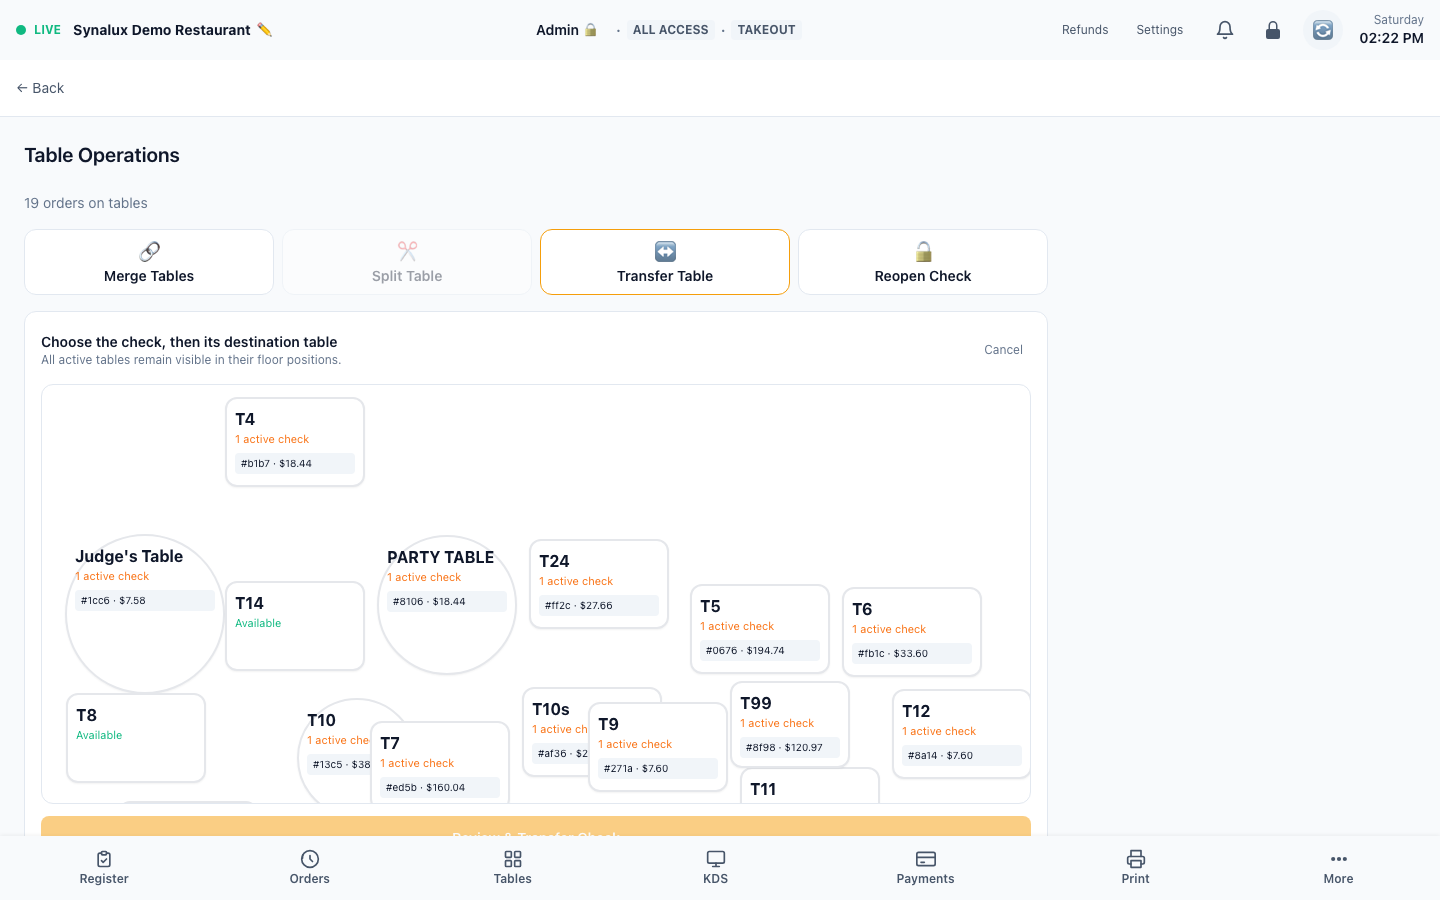
Table Colors & Legend
Every table's color tells you its state at a glance, with a small icon so states read even in bright light. Tap 🗺️ Legend in the Tables header to show this key right on the screen.
| Color | Icon | Status | Meaning |
|---|---|---|---|
| 🟢 Light green | — | Available | No open check |
| 🟡 Light amber | 👥 | Occupied | Check open, nothing sent to the kitchen yet |
| 🟠 Deep amber | 🍳 | Items Sent | The kitchen is working on at least one order |
| 🟢 Deep green | 🔔 | Items Ready | Everything is up — run the food |
| 🔴 Red | ⏰ | Long Wait | The check has been open 60+ minutes |
| 🟣 Purple | 📅 | Reserved | An upcoming reservation holds this table |
| 🟡 Yellow | 🧹 | Needs Bussing | Clear and reset the table |
Seat-time heat map. When enabled (Settings → Screen Builder → Tables → Show Turn-Time Heat Map, on by default), an Occupied table re-colors as guests sit longer: yellow at 45 min, orange at 75 min, red at 100 min. Kitchen states (Items Sent / Items Ready) keep their own colors and are not affected.
The status colors themselves are fixed so every Synalux floor reads the same; the heat map is the adjustable part (per venue, on or off).
Seat Management
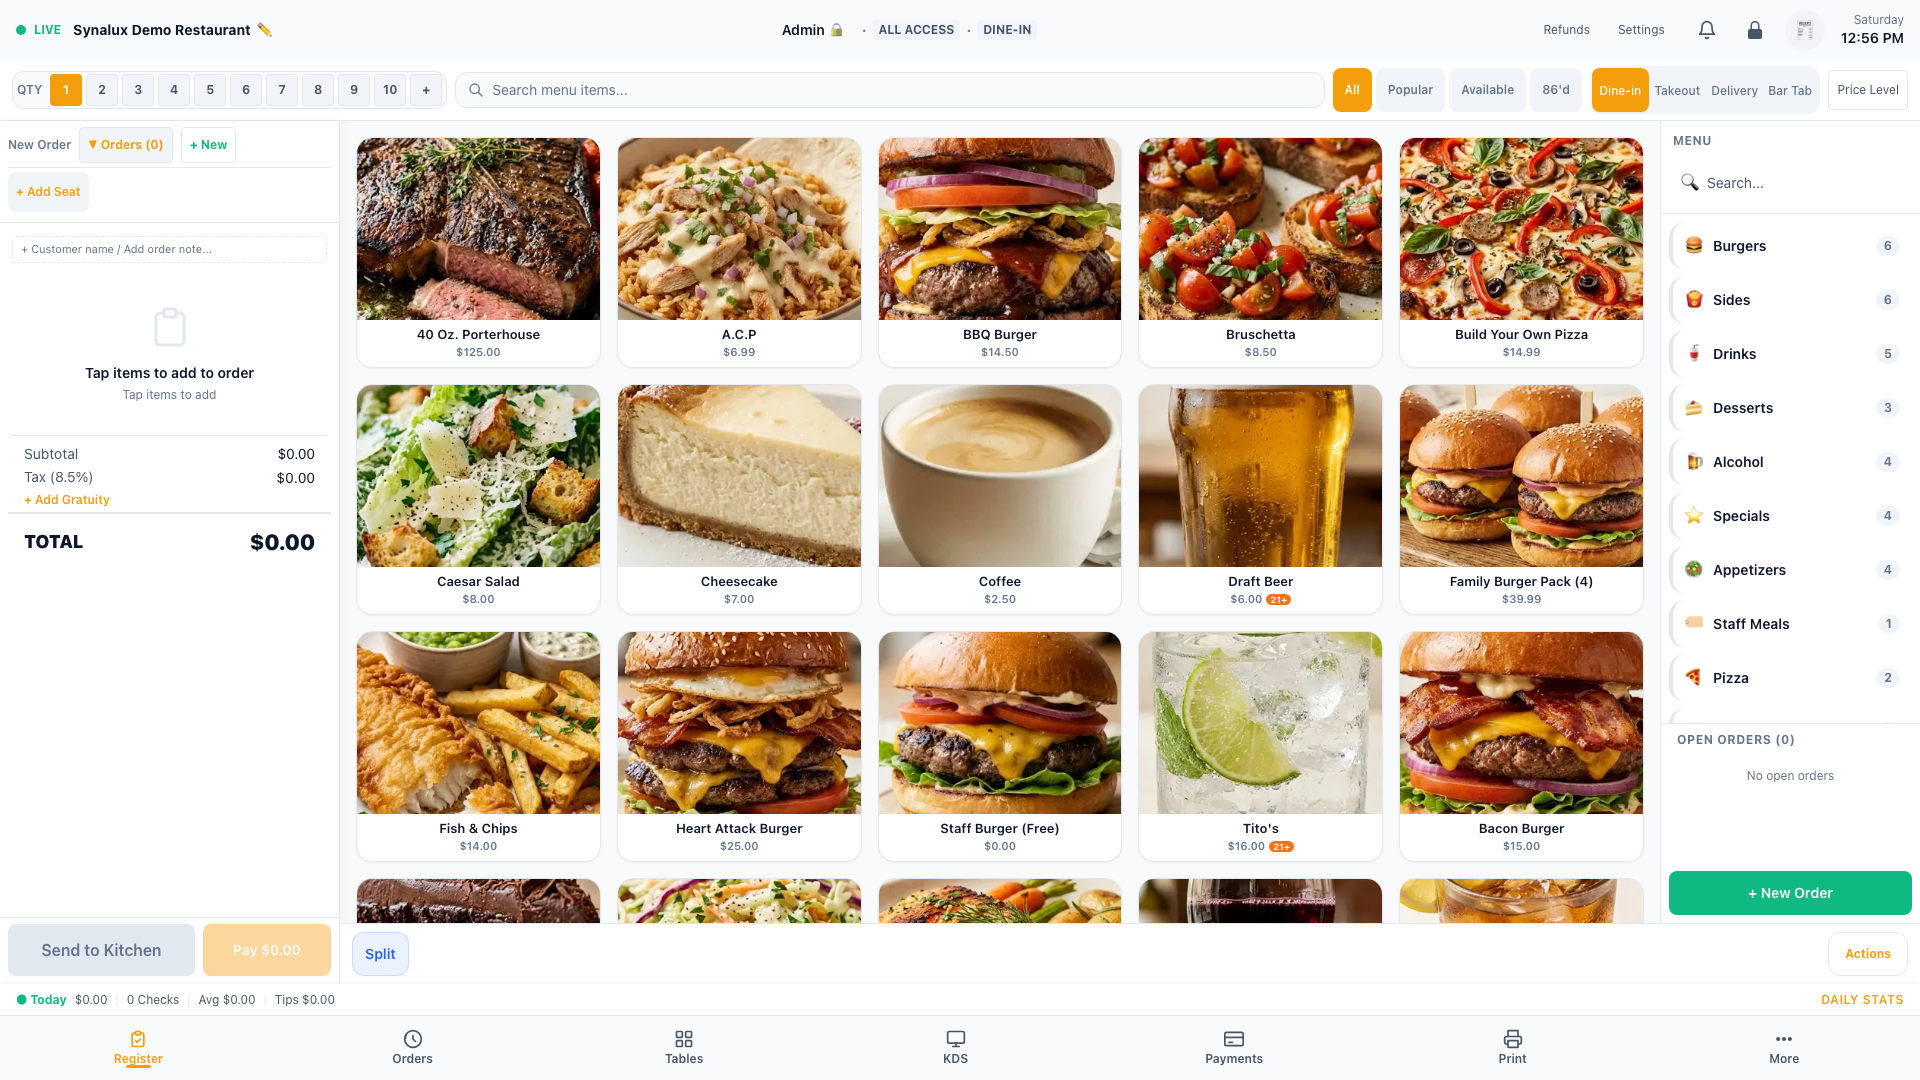
Assign items to individual seats for split checks and per-guest delivery. Seat tabs on the register let servers ring items per guest. Split a single item across all seated guests — price is distributed evenly.
Setup
- Tap Seat 1 / Seat 2 / + Seat tabs on the register to assign items to specific guests
- Tap the ⋯ menu on any line item, then Move to Seat, to assign or change which guest it belongs to (the item shows a colored seat chip)
- Split item across guests — open a line item's ⋯ menu → Move to Seat, then tap "Split across all (N)." The item is cloned into one line per seat with the price distributed evenly (remainder goes to seat 1). Modifier prices are also split
- Split check by seat — each guest gets their own bill with only their items
- Seat assignment works alongside courses — assign items to Seat 1/2/3 and Course 1/2/3 independently
Revenue Centers
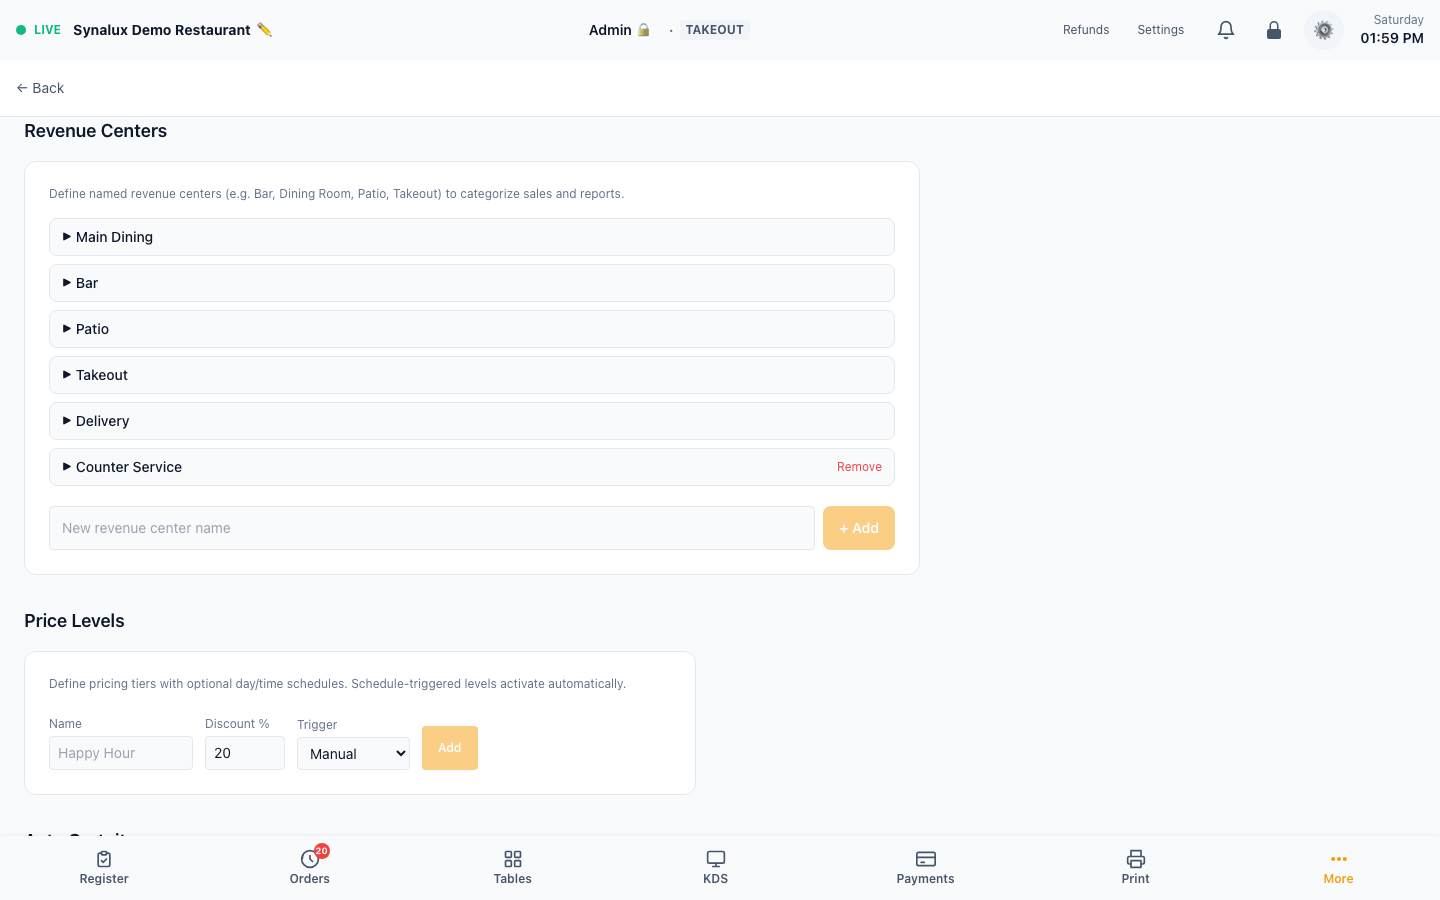
Revenue Centers control which menu categories appear, which KDS stations receive items, which discounts are eligible, and which price level applies — per service area.
Setup
- Define RCs in Settings > Venue Settings (e.g., Main Dining, Bar, Patio, Takeout)
- Configure per-RC in Settings > Venue Settings > Revenue Centers:
- Menu Categories — which categories show when this RC is active
- KDS Routes — remap station routing (e.g., Bar RC sends all items to bar station)
- Eligible Discounts — restrict which discounts work in this RC
- Price Level — default pricing for orders in this RC
- 🏁 Landing Screen — where staff land right after picking this RC: Floor Plan (pick a table first), Bar Tabs, Register, or Delivery Board. Table-service RCs typically land on the Floor Plan so servers choose their table before the order opens. Staff only land where their role has access.
- Staff select their RC at login and are taken straight to that RC's workflow screen. Orders rung in that RC are filed under it, use its price level and eligible discounts, and appear on its open-orders rail. Choosing All Revenue Centers files new orders under no RC, and orders without an RC stay visible in every RC so they can still be settled.