Staff & Labor Management
Complete POS guide · Start a POS trial · Setup checklist
Staff Login & Authentication
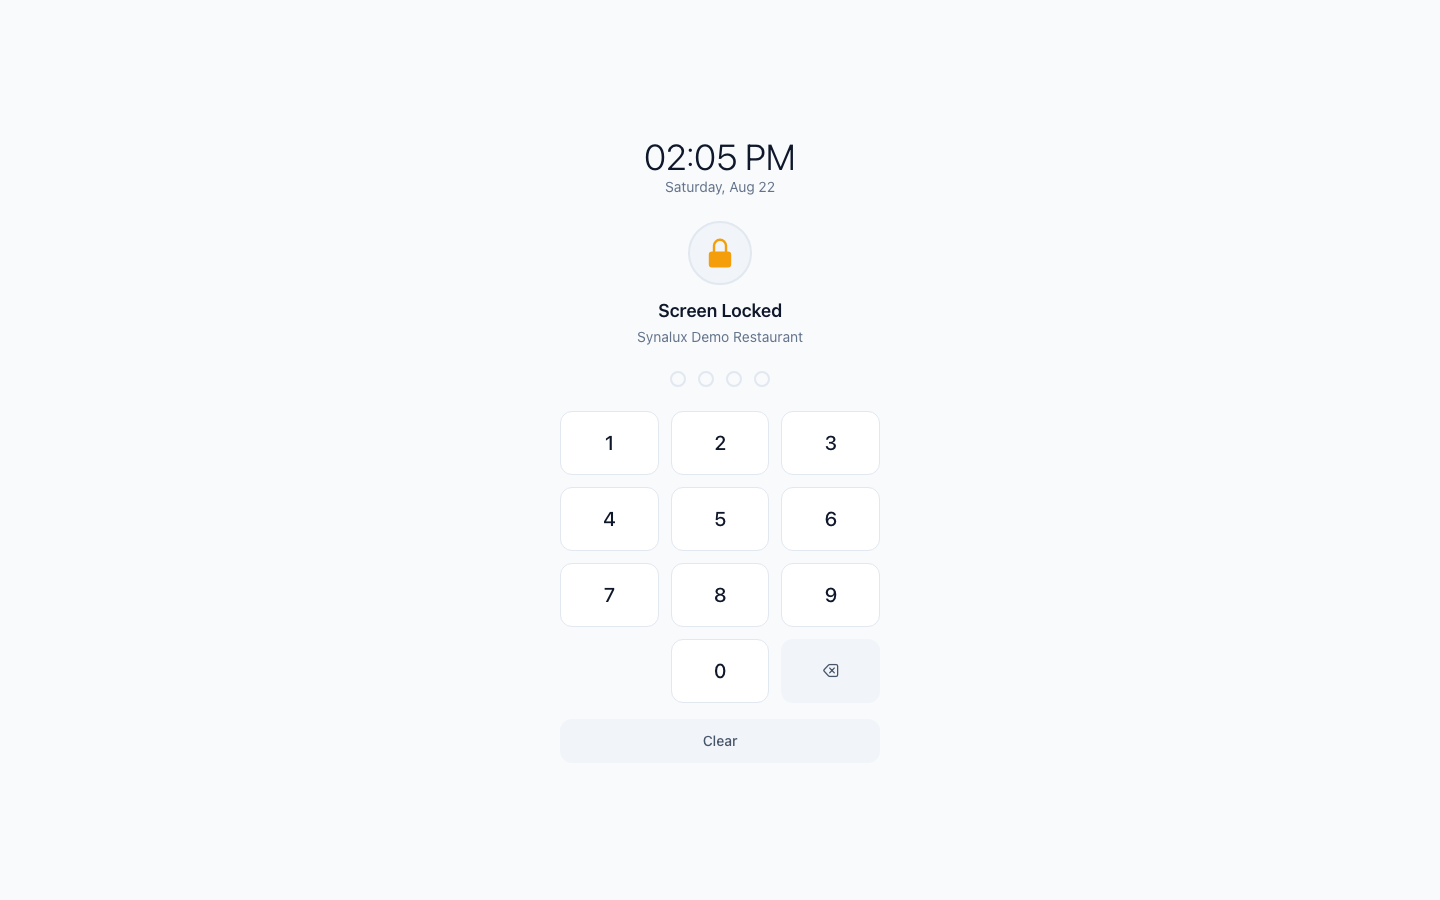
PIN login with clock-in, 7-level role-based access, and automatic screen routing per role. Four authentication methods — PIN is default, biometric and card are progressive enhancements.
Authentication Methods
| Method | How it works | Setup |
|---|---|---|
| PIN | 4-digit numeric code per staff member | Default — created on staff setup |
| WebAuthn Passkeys | Touch ID, Face ID, Windows Hello, hardware security keys | Settings > Staff > Register Passkey |
| Swipe Card | Magnetic stripe / RFID employee badges | Settings > Staff > Assign Card |
| Manual Card Entry | Keyed card-not-present transactions (admin override required) | Admin PIN + confirmation dialog |
Touch ID and Face ID passkeys are registered to supported devices. Multiple passkeys can be registered per staff member, and PIN remains available as the fallback sign-in method.
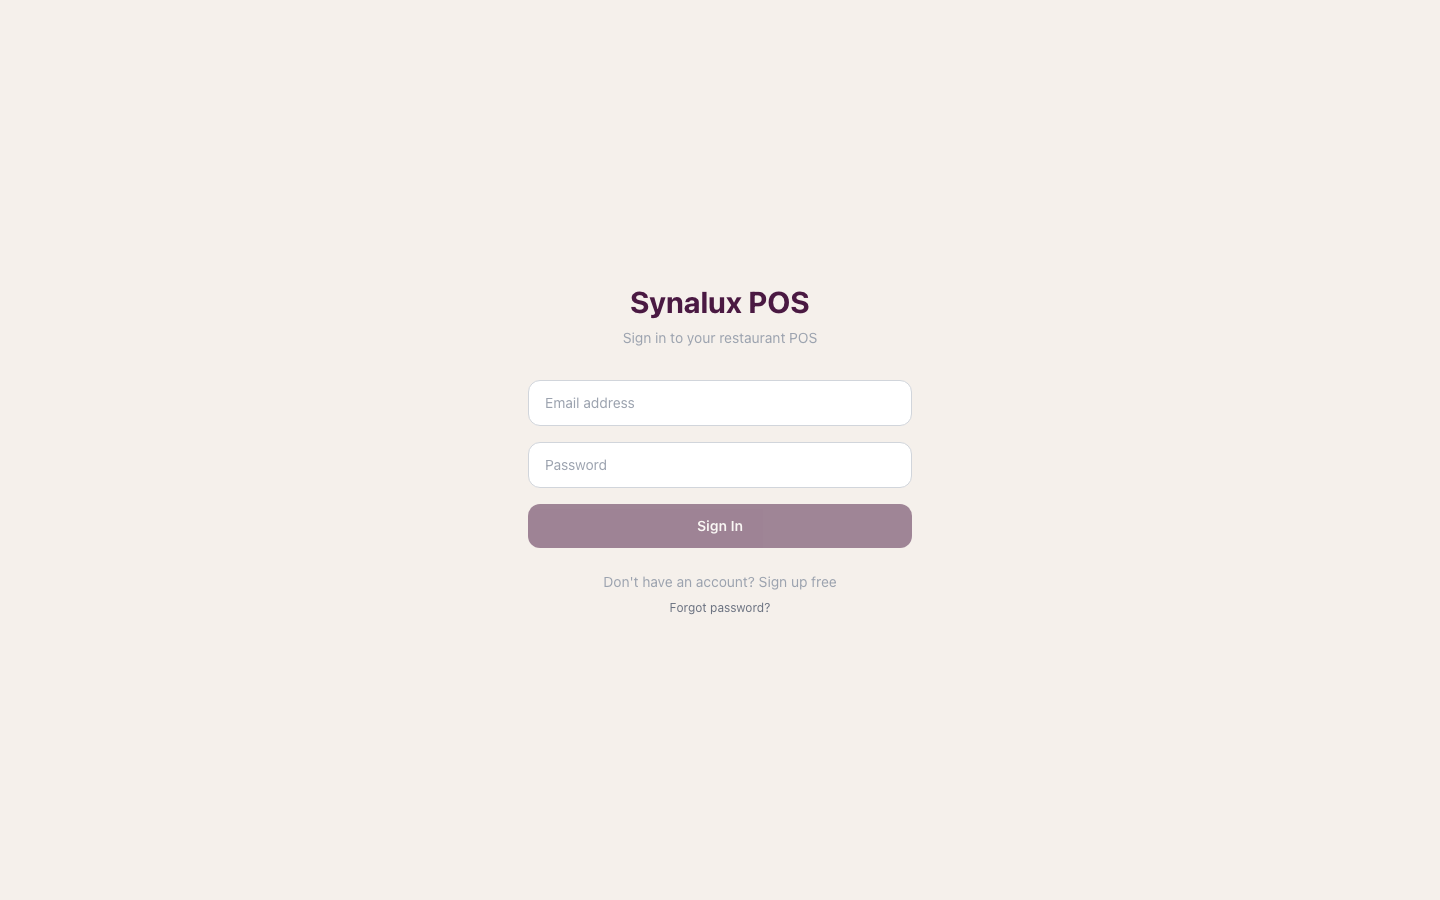
Account sign-in and staff PIN are separate authorization layers. Email/password signs the device into a venue account. A PIN then selects the on-duty staff identity for shared-terminal workflows. When someone opens Settings or another account-managed route, the POS verifies the signed-in account's venue membership and switches to that account's linked, active staff record; it never carries a cashier or server PIN identity into management as authority. If the account has no accessible venue or linked active staff record, management access stops with an account-access error.
Sign Out is a staff handoff, not a venue-account logout. It clears the active staff identity and returns the terminal to the PIN pad while retaining the venue account session, so the next employee can enter their own PIN without re-entering the venue email and password.
Roles & Routing
- Add staff in Settings > Staff Management — display name, four-digit PIN, and one assigned role
- Assign roles: cashier, host, server, bartender, supervisor, manager, admin
- After staff authentication, the selected Revenue Center and its configured landing page determine where that role starts. If the device has not selected a station, the employee chooses an allowed station or skips station filtering; stations already locked to another device require manager override permission
| Role | Landing Page | Screens by default |
|---|---|---|
| Admin | Settings | Every screen |
| Manager | Register | Register, Orders, Tables, Bar Tabs, KDS, Handheld, Reservations, Table Operations, Payments, Refunds, Receipts, House Accounts, End of Day, Reports, Staff, Compliance, Delivery Board, Settings, AI Assistant, Documents, Forms, Scheduling, Accounting, HR, Mail, Calendar, and Dashboards |
| Supervisor | Register | Register, Orders, Tables, Bar Tabs, KDS, Table Operations, Refunds, House Accounts, End of Day, Delivery Board, AI Assistant, Documents, Forms, and Scheduling |
| Server | Register | Register, Orders, Tables, Bar Tabs, Handheld, Table Operations, and Scheduling |
| Bartender | Register | Register, Orders, Bar Tabs, Compliance (age verification), and Scheduling |
| Host | Tables | Register, Orders, Tables, Reservations, and Table Operations |
| Cashier | Register | Register, Orders, and Tables |
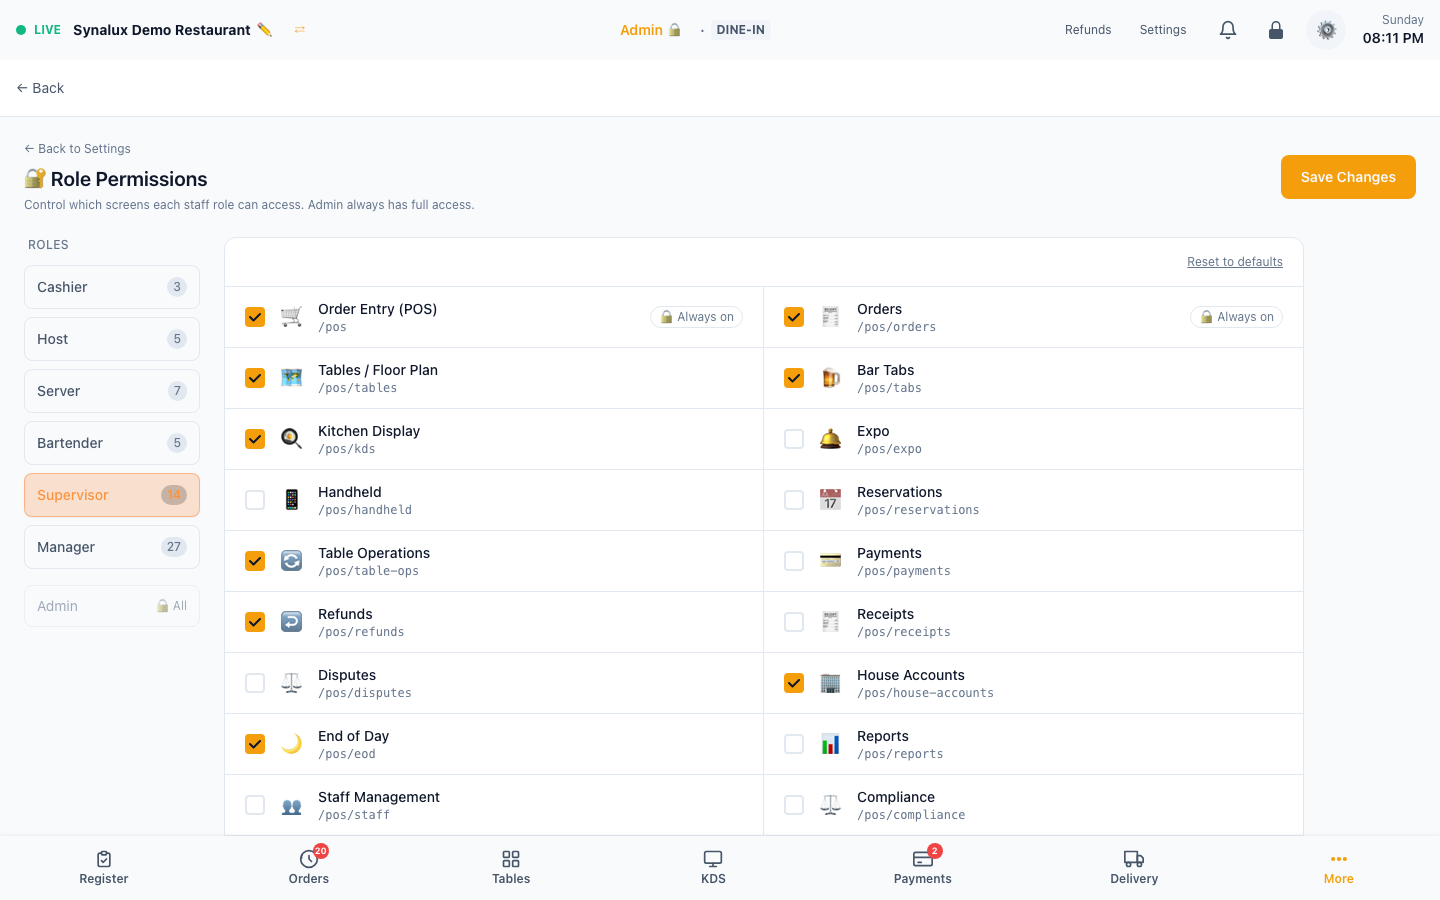
Register and Orders are always on for every role, so staff can always reach the checks they have to settle. Expo, Disputes, Back Office, Inventory, and several other back-office screens start as admin-only; a venue can grant them in Settings > Role Permissions.
These rows are the standard terminal-role baseline, not an immutable list. Settings > Role Permissions can add or remove terminal routes for each venue (except Register and Orders), Revenue Center configuration can choose the post-login landing screen, and a station's Allowed Roles can restrict who may use that terminal. None of those terminal settings bypasses the separate account-membership check for Settings and other management routes.
Once a venue saves its Role Permissions, that saved list replaces the defaults for the venue. A screen added to Synalux POS later, such as the Delivery Board, stays off for non-admin roles there until an admin ticks it in Settings > Role Permissions.
Staff & Labor
Scheduling, break punches, meal-penalty enforcement, overtime alerts, tip pooling (3 modes), and payroll with FLSA compliance.
Setup
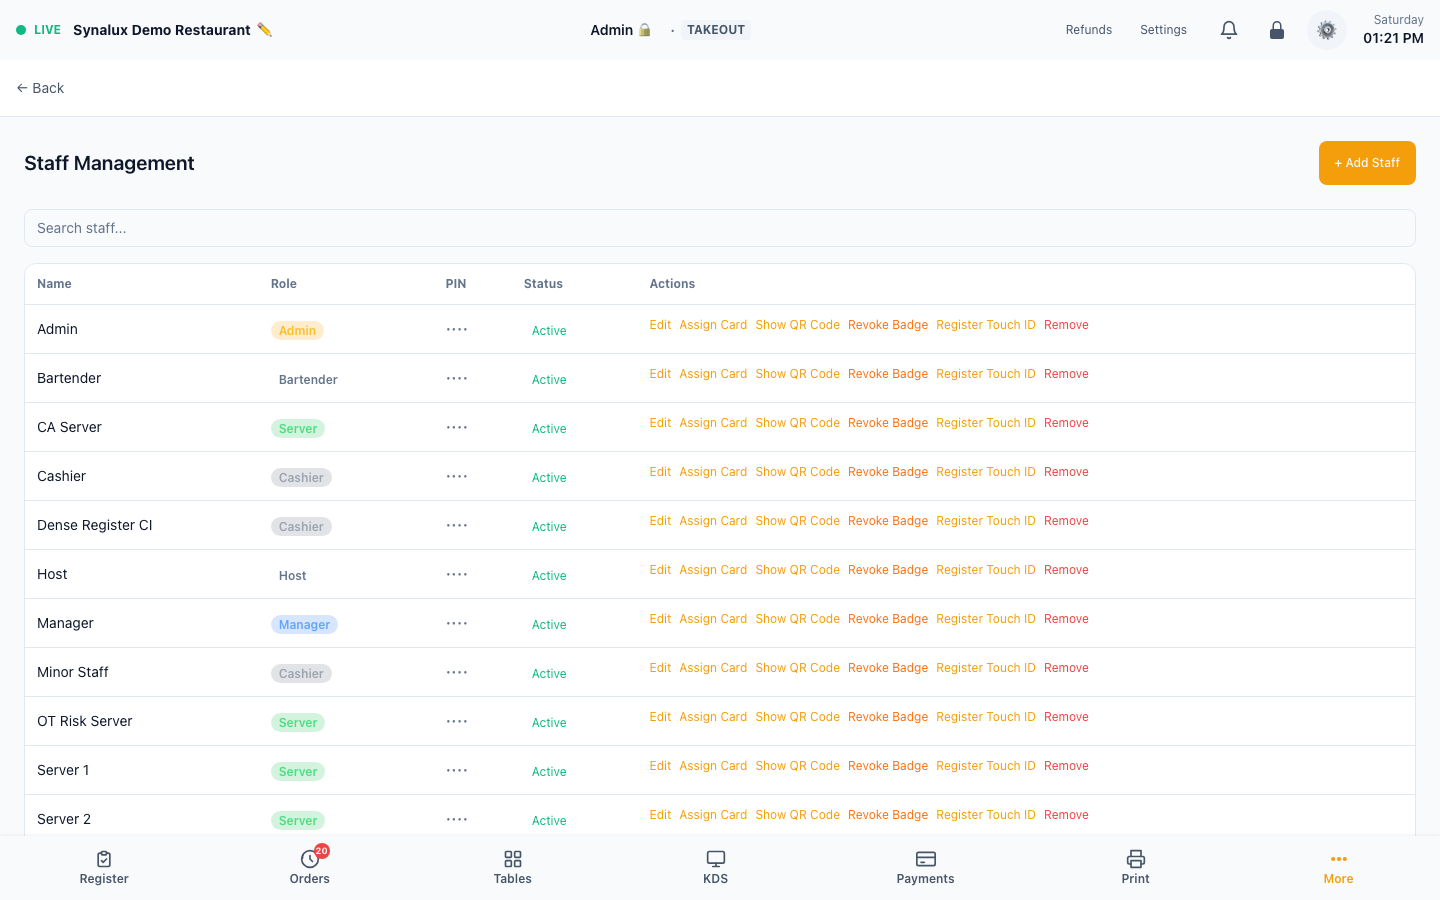
- Settings > Staff Management — add an employee with a display name, four-digit PIN, and role. Search the list or edit an existing employee; PINs remain masked in the table
- Staff sign-in methods — use Assign Card for a magnetic-stripe card or RFID fob, Show QR Code to issue a printable badge, Revoke Badge before replacing a badge, and Register Touch ID on supported WebAuthn hardware. Keep the PIN as the fallback sign-in method
- Settings > Role Permissions — choose Cashier, Host, Server, Bartender, Supervisor, or Manager, then select the POS screens that role can open. Register and Orders are marked Always on and cannot be switched off. Save the venue override or reset a role to its built-in defaults. Admin is locked to full access
- Configure pay periods, break rules, and overtime thresholds
- Tip pool mode: by hours, percentage, or points
- Break punches — staff Start/End a meal or rest break from the timeclock. Ending a break resumes the same shift (no clock-out/clock-in), and the break minutes are recorded on the shift
- Start-of-shift drawer — on the Staff page, pick the opening float and tap Open Cash Drawer. The drawer opens only after the float is recorded; if recording fails, the drawer stays shut and the page says it failed, with the server's reason when it gives one
- Meal penalty — set the rules in Settings > Venue > Meal Penalty & Break Rules (threshold, minimum meal length, premium minutes, and a grace period). When someone works past the threshold with no qualifying meal break, a premium is owed; it rolls into the labor report's gross pay. The grace period is slack past the threshold before any penalty applies
HR & Timesheets
Leave management, timesheet review, payroll draft with FLSA overtime split, and per-server KPIs. Pulls directly from clock-in/out data — all staff appear automatically including PIN-only staff.
HR, timesheet, and payroll pages are documented without demo screenshots until the selected pay period contains populated shift and payroll records.
Setup
- Open
/pos/hrfor the HR command center - Timesheets tab — clock-in/clock-out data grouped by staff member for the selected week. Week picker defaults to current Mon–Sun
- Payroll Draft tab — calculates gross pay: regular hours (up to 40h) + overtime (above 40h at 1.5×). Export CSV for Gusto/ADP
- KPIs tab — per-server metrics: sales/hour, avg check, tip %, 7-day sparkline trend
- Staff submit time-off requests; managers approve/deny
- IRS Form 8027 — Settings > Compliance > Form 8027. Auto-calculates gross receipts, charge tips, and 8% allocation for tipped establishments
Training Mode
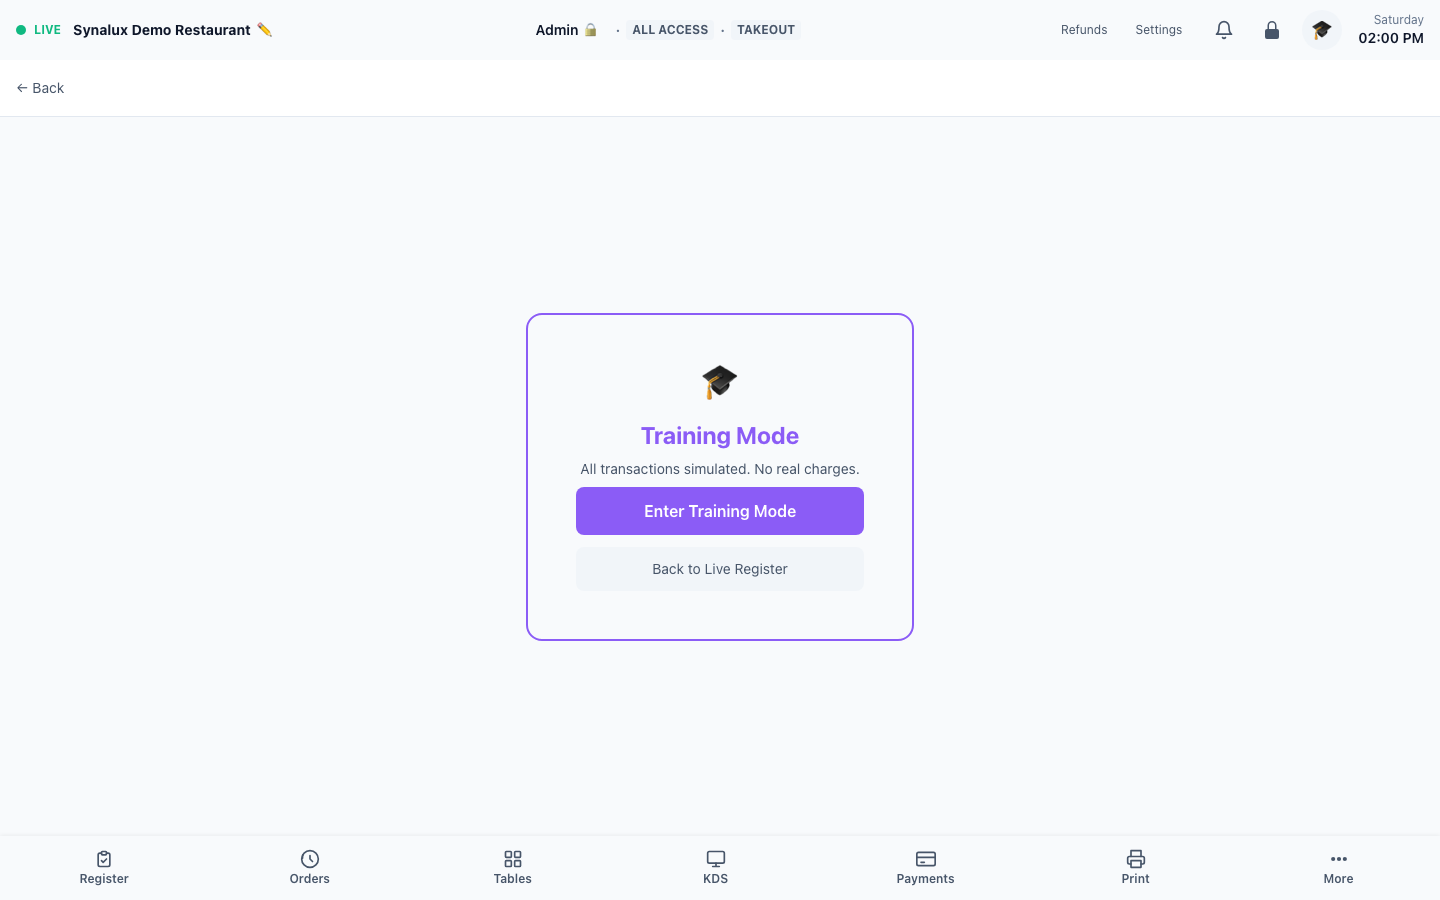
Isolated sandbox. Orders excluded from reports. Staff can practice without affecting live data.
Setup
- Enable training mode in Settings > Venue — toggle "Training Mode"
- All orders created while training mode is active are tagged
[TRAINING] - Training orders are excluded from sales reports, EOD, and payroll calculations
- Disable training mode when done — real orders resume immediately
Compliance
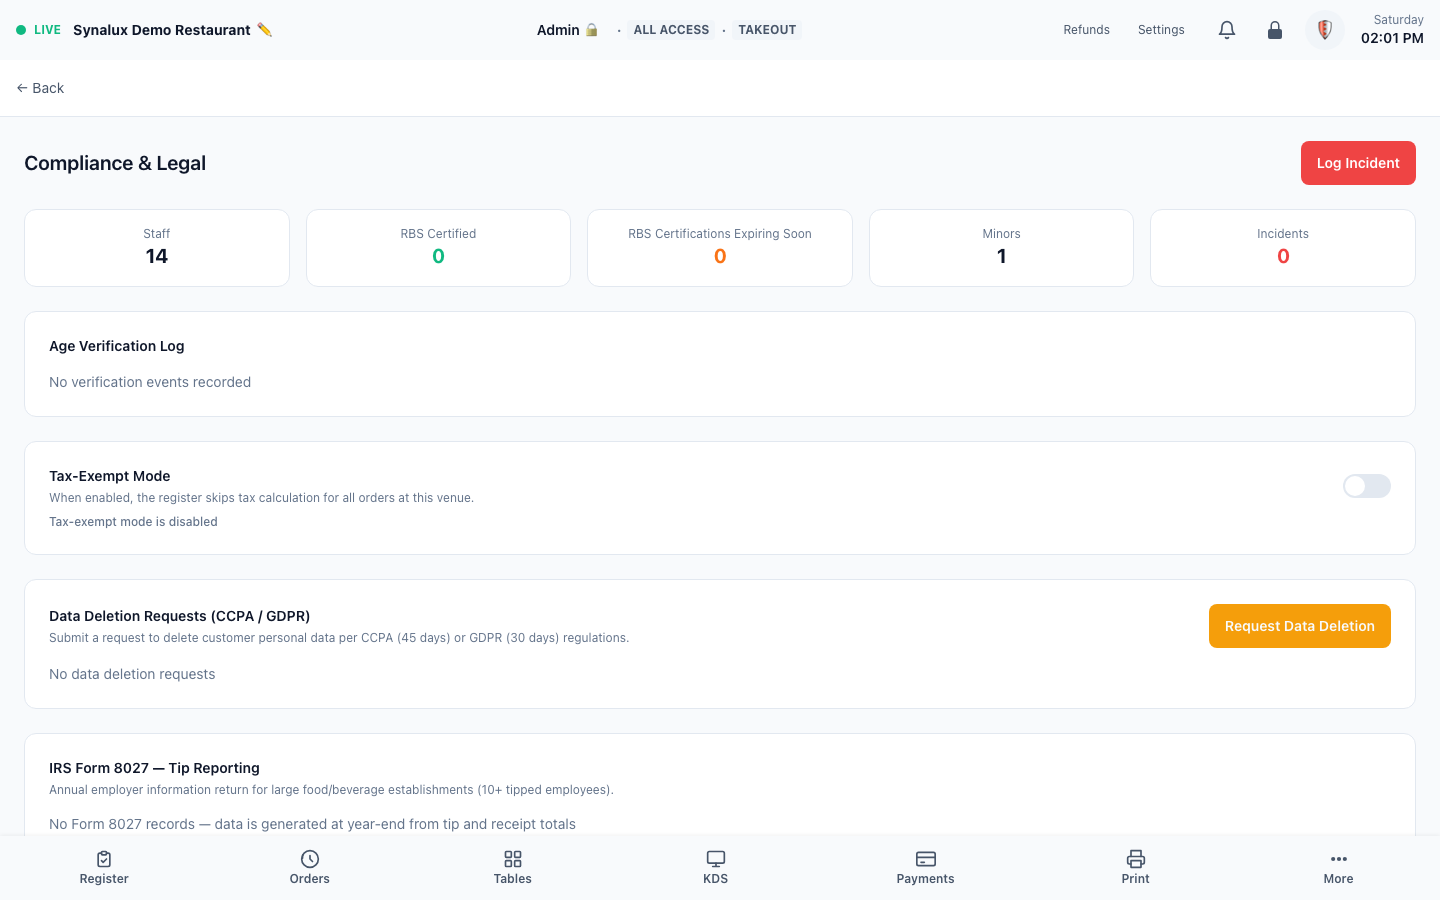
Age verification, RBS cert tracking, tax-exempt orders, per-item taxability, CCPA/GDPR, and full audit trail.
The current Compliance page renders successfully and exposes alcohol, privacy, certificate, and incident controls in one workspace.
Tax Configuration
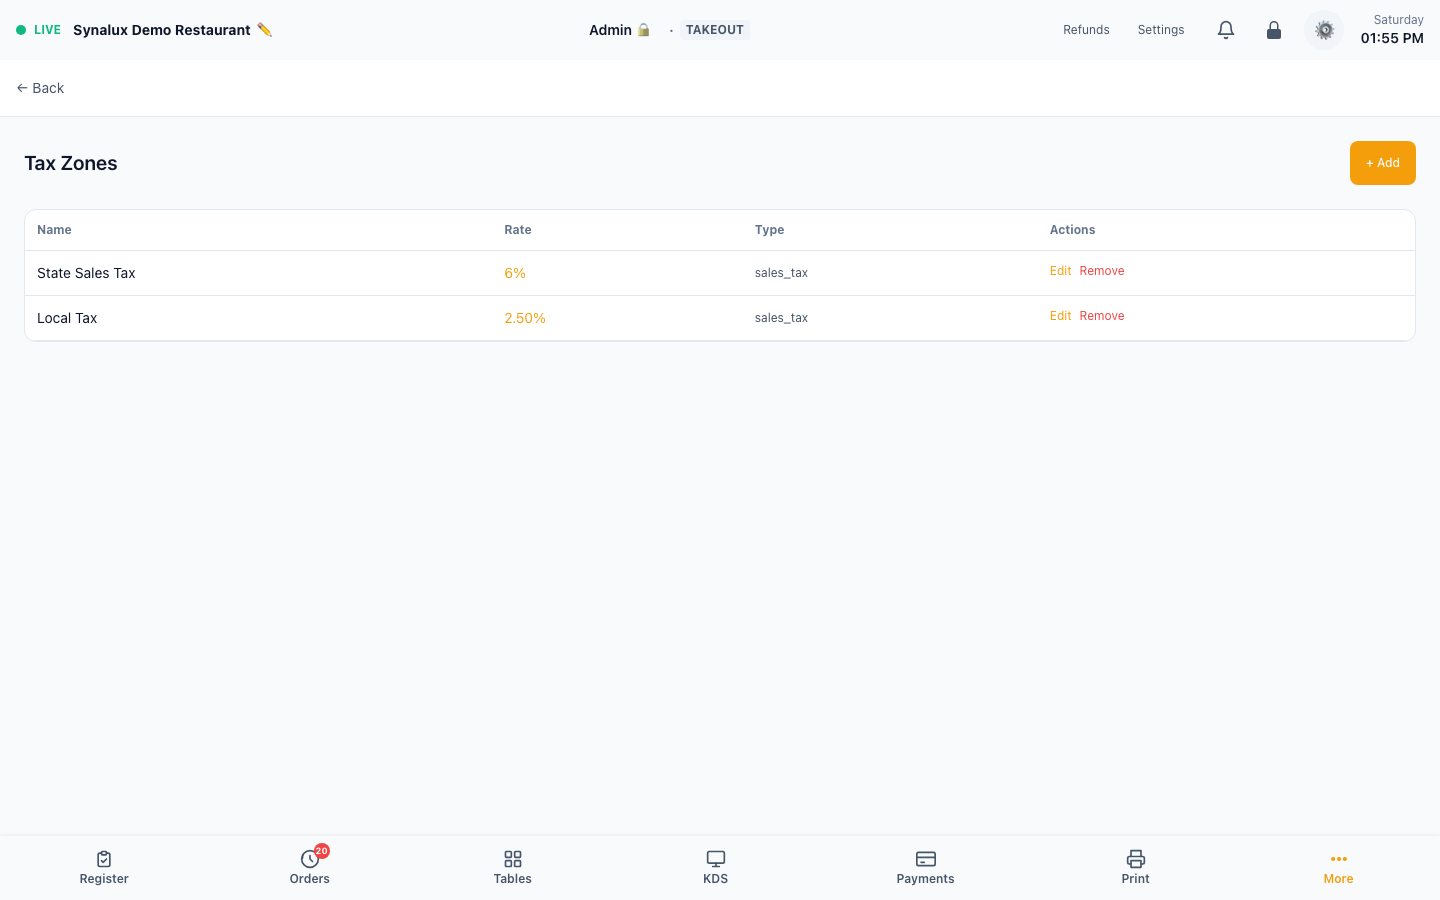
Order-level tax exempt — toggle an entire order as non-taxable from the order panel.
Per-item taxability — each menu item has an Item Type (Food, Alcohol, Beverage, Merchandise). Tax zones define which item types they apply to. Set an item's type to one not included in any active tax zone and it is effectively non-taxable. Configure item types in Settings > Menu Builder and tax zones in Settings > Tax.
Age Verification & Compliance
Age checks are enforced for alcohol items; privacy controls cover CCPA/GDPR data requests; and RBS certificates are tracked by staff member. The current Compliance screenshot above is evidence of the management surface, not proof that a particular venue has completed every certificate or external compliance obligation.
QR Code Login
Staff can scan a QR badge to log in — no PIN needed. Badges are secure, venue-scoped, and revocable per employee. Print badges from Settings > Staff Management and assign them to staff members. Lost badges can be revoked instantly without affecting other credentials.